Are you wondering how to install a window fan effectively? Properly installing a window fan can enhance air circulation in your home, making it more comfortable and energy-efficient.
Why Should You Install a Window Fan?
Before diving into the details of how to install a window fan, let’s quickly discuss the benefits it offers.
-
Improved Air Circulation:
Window fans help promote airflow, circulating fresh air into your home and expelling stale air. -
Energy-Efficient:
A window fan uses significantly less energy than air conditioning, reducing your utility bills. -
Flexibility:
Most window fans come with reversible motors, allowing you to choose whether to bring in cooler outside air or exhaust warm indoor air. -
Cost-Effective:
They are generally more affordable than traditional HVAC systems and can be a great supplementary cooling solution.
How to Choose the Right Window Fan?
When learning how to install a window fan, it’s crucial to select the right one for your needs. Here are some factors to consider:
-
Size:
– Measure your window’s dimensions and select a fan that fits snugly.
– A fan that is too small won’t be effective, while an oversized one may not fit securely. -
CFM Rating:
– Look for a fan with a suitable Cubic Feet per Minute (CFM) rating, which indicates how much air it can move.
– For larger rooms, a fan with a higher CFM is advisable. -
Reversible Function:
– Ensure that the fan has a reversible motor, offering the flexibility to either pull air in or push it out. -
Noise Level:
– Check user reviews regarding its noise level, as some fans can be louder than others. -
Features:
– Consider additional features such as timers or remote controls for added convenience.
How to Install a Window Fan in Simple Steps
Learning how to install a window fan can seem daunting, but by following these steps, you’ll find it easy!
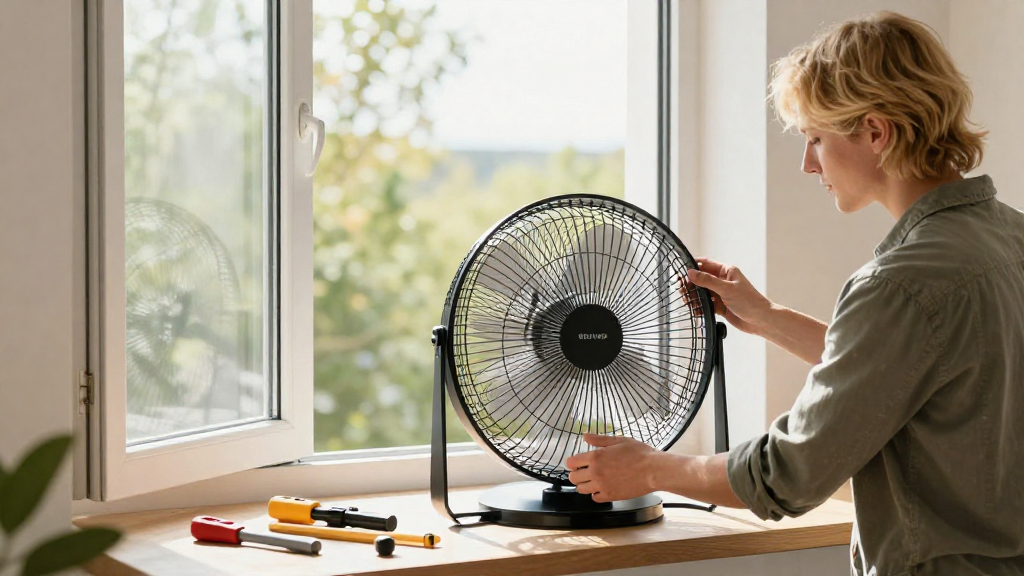
Step 1: Gather Your Tools
Before you begin the window fan installation, prepare your tools:
- Window fan (check that it is fully functional)
- Screwdriver
- Measuring tape
- Safety goggles (optional but recommended)
- Level (to ensure even installation)
Step 2: Prepare the Window
-
Clean the Window:
– Remove any dirt, dust, or debris from the window frame to ensure an airtight seal. -
Measure the Window Frame:
– Use the measuring tape to determine how much space you have and ensure your fan will fit properly. -
Check the Window Type:
– Ensure that your window can accommodate the fan’s design (i.e., sliding window, double-hung window).
Step 3: Begin the Fan Installation
-
Set the Fan to Exhaust Mode:
– Most fans come with a mode switch. Start with it set to exhaust (blowing out) mode if you aim to expel hot air from your home. -
Insert the Fan into the Window:
– Align the fan securely into the window opening.
– Make sure that the fan’s face is directed towards the inside of your home; the back should face outside. -
Secure the Fan:
– Extend the adjustable side panels (if your fan has them) to fill the gaps between the fan and the sides of the window frame completely. -
Use the Screws:
– For added security, use screws and your screwdriver to fasten the fan into the window frame.
– Ensure it’s mounted tightly to avoid vibration or movement. -
Level Check:
– Use a level tool to check that the fan is aligned correctly and adjust as needed.
Step 4: Seal the Installation
-
Weatherstripping:
– Apply weatherstripping tape around the edges of the fan and the window to enhance energy efficiency.
– This step is vital to prevent air from leaking in or out. -
Check for Air Leaks:
– After sealing, run your hand around the installation to feel for chilly air escaping or warm air seeping in.
– Adjust seals if necessary.
Step 5: Power Up Your Fan
-
Plug It In:
– Ensure that the fan is plugged into a proper outlet, free from safety hazards. -
Test the Functionality:
– Turn the fan on and check if it operates smoothly, adjusting settings based on your desired airflow.
Step 6: Final Adjustments
-
Re-evaluate Direction:
– If the room feels warm or uncomfortable, consider switching the fan to intake mode to draw in cooler air from the outside. -
Schedule Installation for Optimal Use:
– Use your window fan during times when outdoor temperatures are lower, such as evenings or mornings, to maximize cooling.
Maintenance Tips After Installation
Once you have successfully learned how to install a window fan, proper maintenance can ensure its durability and efficiency:
-
Regular Cleaning:
– Dust and debris can accumulate on the fan blades and motor.
– Clean the fan every few weeks, especially during peak usage seasons. -
Check Wiring:
– Occasionally inspect the plug and wiring for any signs of wear or damage. -
Store in Off-Season:
– If you won’t be using the fan during winter, removing it and storing it in a cool, dry place can prevent damage.
Conclusion
Now that you know how to install a window fan, it’s time to enhance your indoor air quality and comfort.
By following the steps outlined, you can enjoy improved ventilation while keeping your energy bills low.
Make sure to maintain your fan for optimal performance, ensuring it serves you faithfully for seasons to come!
Whether you’re battling summer heat or seeking a fresh breeze, a window fan is a smart investment that pays off in comfort and efficiency.
Happy cooling!