If you’re wondering how to install a kitchen exhaust fan, you’re not alone.
Many homeowners look to improve ventilation in their kitchens to reduce odors, smoke, and moisture.
In this guide, we will walk you through the essential steps and tips to successfully install a kitchen exhaust fan in your home.
What Is a Kitchen Exhaust Fan?
Before diving into how to install a kitchen exhaust fan, it’s important to understand what it is.
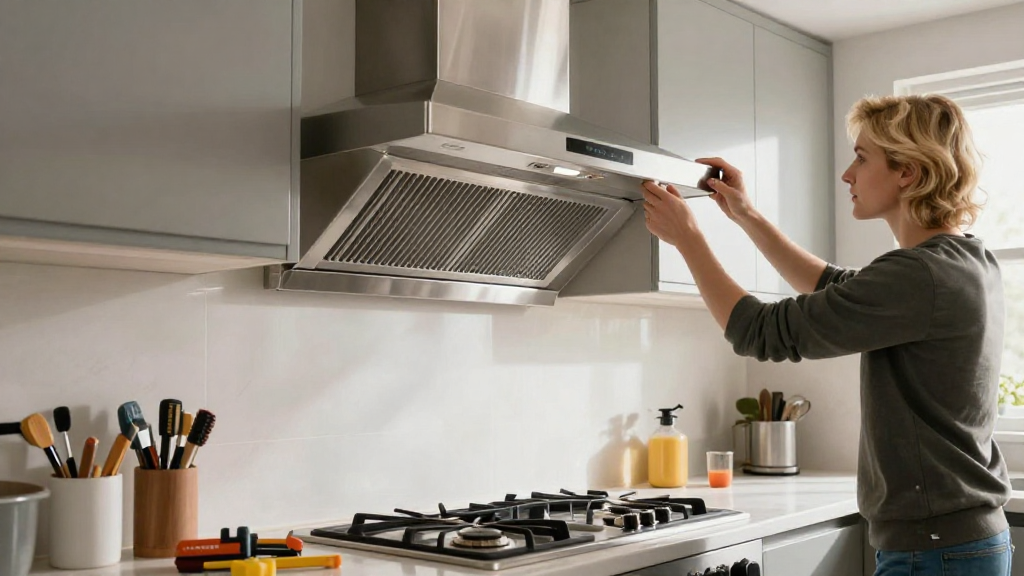
A kitchen exhaust fan is a device designed to ventilate your kitchen by removing smoke, steam, and odors.
These fans come in various styles – from under-cabinet to wall-mounted and ceiling-mounted.
Choosing the right type for your kitchen layout is essential.
Let’s explore how to install a kitchen exhaust fan step by step.
What Do You Need to Install a Kitchen Exhaust Fan?
To efficiently install a kitchen exhaust fan, gather the following tools and materials:
- Screwdrivers: Both flathead and Phillips
- Drill: With drill bits appropriate for your surface
- Measuring Tape: For precise measurements
- Level: To ensure your fan is installed properly
- Electrician’s Tape: For securing electrical connections
- Wire Nuts: To connect wires safely
- Safety Gear: Gloves and goggles
- Stud Finder: To locate wall studs for mounting
How to Prepare for the Installation?
Preparation is key when learning how to install a kitchen exhaust fan.
Here are steps to follow:
-
Choose the Right Location:
– Ideally, the fan should be above your stove, with a distance of 24-30 inches.
– Make sure there’s enough clearance for the fan and that it can vent outside efficiently. -
Measure Your Space:
– Take accurate measurements of the width and height you’ll need.
– Ensure there’s enough room for movement and installation. -
Turn Off Power:
– Go to your circuit breaker and turn off the power to the area where you’ll be working.
– This is crucial for your safety.
How to Install a Kitchen Exhaust Fan: Step-by-Step Instructions
Now that you’re prepared, here’s how to install a kitchen exhaust fan in a few simple steps:
Step 1: Remove Existing Fixtures
If you’re replacing an existing fan or light fixture:
-
Take Down Old Fixtures:
– Use your screwdriver to remove screws holding the existing fixture in place.
– Carefully disconnect the wiring, noting where each wire connects. -
Clear the Area:
– Ensure the area is free of debris and accessible for installation.
Step 2: Install the Mounting Bracket
-
Locate the Studs:
– Use a stud finder to locate the studs within the wall.
– Mark these locations with a pencil for reference. -
Attach Bracket:
– Position the mounting bracket according to the manufacturer’s instructions.
– Use a level to ensure it’s straight, then secure it to the wall with screws.
Step 3: Connect Ductwork
-
Cut Duct Opening:
– Using a drywall saw, create an opening for the duct if one isn’t already present.
– Make sure it’s aligned with the exhaust fan’s duct outlet. -
Install Ducting:
– Attach the duct to the fan’s outlet, securing with clamps or tape.
– Ensure the duct is routed appropriately to vent outside.
Step 4: Make Electrical Connections
-
Connect Wires:
– Following the manufacturer’s wiring diagram, connect the fan’s wires to the corresponding wires in your home circuit.
– Use wire nuts and electrician’s tape to ensure a safe connection. -
Secure the Wiring:
– Tuck any excess wires back into the wall or box.
Step 5: Mount the Fan
-
Position the Fan:
– Lift the exhaust fan into position on the mounting bracket.
– Secure it with screws, ensuring it’s tightly fit. -
Check Alignment:
– Use a level one more time to verify that the fan is straight.
Step 6: Test the Fan
-
Restore Power:
– Go to the circuit breaker and turn the power back on. -
Test Fan Operation:
– Turn on the fan to ensure it’s functioning properly.
– Listen for any unusual noises that might indicate a problem.
How to Maintain Your Kitchen Exhaust Fan?
To prolong the life of your newly installed kitchen exhaust fan and ensure it operates efficiently:
- Clean Regularly:
- Wipe down the exterior with a damp cloth.
-
Remove and clean grease filters monthly.
-
Check Ducting:
- Ensure no blockages develop in the ductwork over time.
-
Hire a professional every few years for thorough cleaning if necessary.
-
Monitor Performance:
- If you notice a decrease in performance, it may be time to check the wiring or replace filters.
Conclusion: Are You Ready to Install Your Kitchen Exhaust Fan?
Learning how to install a kitchen exhaust fan can seem daunting, but by following these steps, you can enhance your kitchen’s air quality and appearance efficiently.
With the right tools and a bit of preparation, you can transform your kitchen into a more pleasant cooking environment.
Remember to prioritize safety and cleanliness during installation.
If unsure at any stage, don’t hesitate to consult with or hire a professional.
Now that you’re equipped with the knowledge of how to install a kitchen exhaust fan, get started on your home improvement project today!