If you’re wondering how to clean mini split filters, you’re in the right place! Keeping your mini-split system in optimal condition requires regular maintenance, and cleaning the filters is a key part of that process. In this article, we’ll break down the steps to easily clean your mini split filters and keep your air conditioning system running smoothly.
Why is It Important to Clean Mini Split Filters?
Before diving into the methods of how to clean mini split filters, it’s essential to understand why it’s necessary.
- Improved Air Quality: Dirty filters accumulate dust, pollen, and other allergens, affecting the air quality in your home.
- Energy Efficiency: Clogged filters force your mini-split system to work harder, leading to higher energy bills.
- Extended Lifespan: Regular maintenance increases the longevity of your HVAC system by preventing unnecessary wear and tear.
How Often Should You Clean Mini Split Filters?
A common question homeowners ask is, “How often should I clean mini split filters?”
- Every Month: For homes with pets or high dust levels, it’s advisable to check and clean the filters monthly.
- Every 3-6 Months: For most households, every three to six months will suffice.
- Before Seasonal Changes: It’s a good practice to clean the filters at the start of the summer and winter months to ensure efficient operation.
What Do You Need to Clean Mini Split Filters?
To effectively clean mini split filters, gather the following supplies:
- Soft Brush or Vacuum with Brush Attachment: For removing loose dust and debris.
- Warm Water: For rinsing the filters.
- Mild Detergent: Such as dish soap, for deeper cleaning.
- Microfiber Cloth: For drying the filters.
- Bucket or Sink: To rinse the filters.
Having the right tools will streamline the process of how to clean mini split filters.
How to Clean Mini Split Filters Step-by-Step
Now, let’s explore how to clean mini split filters with a simple step-by-step approach.
Step 1: Turn Off the Power
Your safety is a priority. Ensure to turn off the power to your mini-split system before starting any maintenance.
Step 2: Remove the Front Panel
- Locate the front panel or grille of the indoor unit.
- Carefully pull the panel down or unclasp it based on your model’s design.
- Refer to your owner’s manual for specific instructions if you’re unsure.
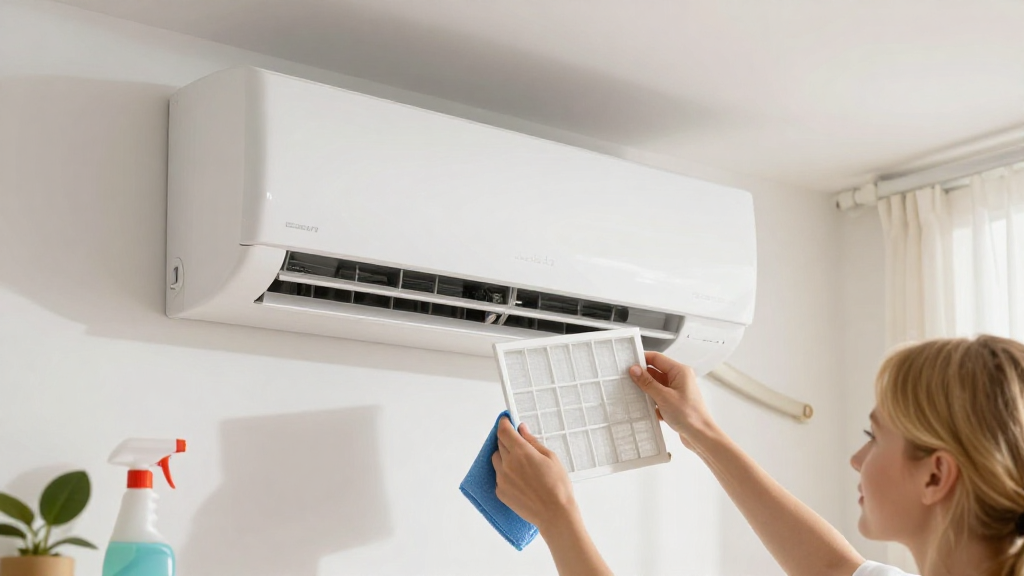
Step 3: Take Out the Filters
Once you have accessed the front panel, follow these steps:
- Gently pull out the filters from their slots.
- Be cautious not to damage the filters or the unit during removal.
Step 4: Dust Off the Filters
Using a soft brush or vacuum, remove any loose dust and debris from the filters:
- Start at the top of the filter and move downward.
- If using a vacuum, use a brush attachment for a gentle touch.
Step 5: Wash the Filters
Rinse the filters under warm water to remove stuck-on dirt and dust:
- Fill a bucket or sink with warm water.
- Add a few drops of mild detergent.
- Submerge the filters and let them soak for 5-10 minutes.
- Use a soft brush to scrub any stubborn spots gently.
Step 6: Rinse and Dry the Filters
- After washing, rinse the filters thoroughly with clean water.
- Shake off excess water gently.
- Use a microfiber cloth to dry the filters completely.
Step 7: Reinstall the Filters
Once the filters are fully dry, it’s time to put them back:
- Slide the filters back into their original slots.
- Ensure they fit securely to avoid airflow issues.
- Reattach the front panel of the unit.
Step 8: Restore Power and Set the Unit
- Turn the power back on.
- Check your mini-split system’s settings and ensure it is functioning correctly.
Additional Tips for Maintaining Mini Split Filters
To maximize the efficiency and life of your mini-split system, consider these bonus tips:
- Regular Cleaning: Set a cleaning reminder on your calendar to ensure you don’t forget.
- Inspect for Damage: While cleaning, check filters for any signs of damage or excessive wear.
- Consider a Backup: Having an extra set of filters can be helpful for faster replacements.
- Professional Maintenance: Schedule professional maintenance at least once a year to ensure all system components function well.
When Should You Replace Mini Split Filters?
In some cases, cleaning might not be enough, and you’ll need to consider how to clean mini split filters effectively:
- Visible Damage: If your filters are torn, frame cracking, or otherwise damaged, it’s time to replace them.
- Persistent Odors: If cleaning doesn’t eliminate unpleasant smells, consider replacing the filters.
- Frequent Clogs: If filters clog quickly, it may be a sign they need replacing.
Conclusion
Knowing how to clean mini split filters is essential to maintaining an efficient and effective HVAC system in your home.
Regular cleaning enhances air quality, improves energy efficiency, and extends the life of your unit.
By following the steps outlined in this article and implementing a cleaning schedule based on your household’s needs, you can ensure your mini-split system runs smoothly for years to come.
Remember, it’s all about creating a comfortable living environment while saving on energy costs. Happy cleaning!