Cleaning your home’s return air vent is an essential task to ensure that your HVAC system operates efficiently.
In this article, we will walk you through how to clean a return vent without the need for removal, making the process straightforward and effective.
Why is it Important to Clean Your Return Air Vent?
Cleaning your return air vent is vital for several reasons:
-
Improved Air Quality: Dust, allergens, and pollutants accumulate over time.
Cleaning the vent helps to improve the air you breathe. -
Energy Efficiency: A dirty vent can restrict airflow, leading to increased energy consumption.
Regular cleaning enhances the HVAC system’s efficiency. -
Prolonged Equipment Life: Debris buildup can lead to wear and tear on your HVAC system.
Keeping the vent clean may extend its lifespan.
What Tools Do You Need to Clean a Return Air Vent?
Before diving into the cleaning process, gather the following tools:
- Vacuum cleaner with a hose attachment
- Soft brush or microfiber cloth
- Multi-surface cleaner or duster
- Screwdriver (if necessary for access)
- Protective gloves and a mask (optional for dust sensitivity)
How to Clean a Return Vent Step-by-Step
Now that you have your supplies ready, let’s go through the step-by-step process of how to clean a return vent without removing it.
1. Turn Off Your HVAC System
Before you begin cleaning, it’s crucial to ensure safety:
- Turn off your HVAC system to prevent any suction or airflow while doing your cleaning.
- This will also help avoid dust blowing around as you work.
2. Inspect the Vent
Before jumping into cleaning, take a moment to visually inspect the return air vent.
- Look for visible dust, cobwebs, or signs of mold and dirt accumulation.
If you detect any mold, it’s best to consult a professional for a more thorough cleanup.
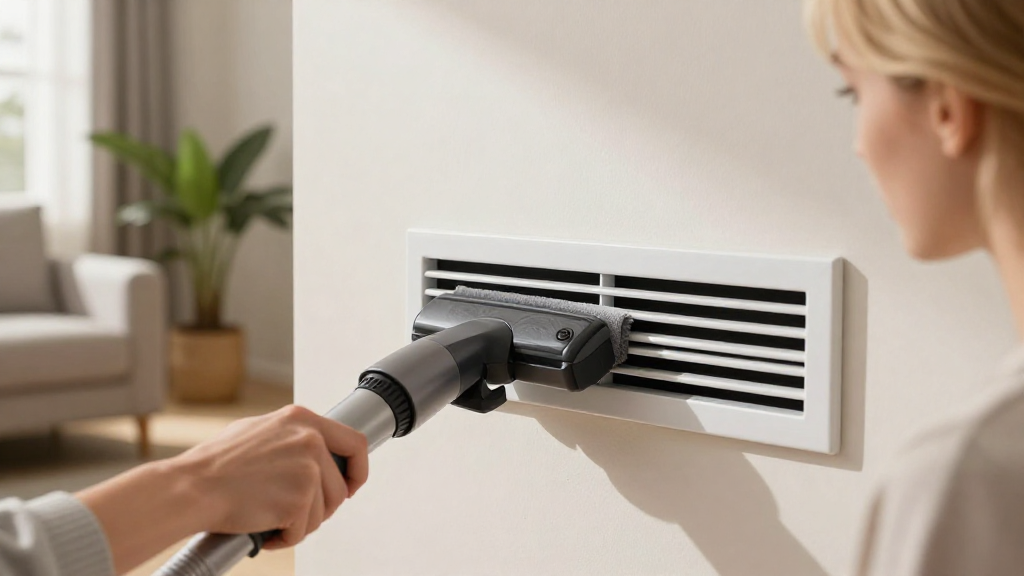
3. Vacuum the Vent
Using your vacuum cleaner with the hose attachment, follow these steps:
- Carefully insert the vacuum nozzle into the vent’s opening.
- Move it gently to dislodge and suck up dust and debris.
Consider the following tips for an effective vacuuming process:
- Adjust the vacuum power: Use lower suction power for smaller vents to avoid damage.
- Vacuum the perimeter: Focus on the edges where dust tends to gather.
4. Dust the Grille
After vacuuming, shift your focus to the vent grille. Dust can accumulate here, affecting airflow.
- Using a soft brush or microfiber cloth, gently wipe the grille.
If it’s particularly grimy, you can lightly spray some multi-surface cleaner on your cloth.
Note: Avoid spraying cleaner directly onto the vent to prevent moisture buildup.
5. Clean Around the Vent
Don’t forget to clean the area surrounding the return vent. Dust may have accumulated in nearby corners or on surfaces.
- Wipe down the walls and the floor directly around the vent area using a damp cloth or mop.
This will help catch any particles that may have escaped during vacuuming.
6. Allow Everything to Dry
If you used any cleaning solutions, it’s essential to let everything dry:
- Ensure no moisture is left in or around the vent.
- Turn on a fan or open a window to help with the drying process.
After everything is dry, you can proceed to turn your HVAC system back on.
How Often Should You Clean a Return Air Vent?
To maintain optimal air quality and efficiency, here’s a guideline on how often to clean your return air vent:
- Monthly: Light dusting and vacuuming (especially in high-pollen seasons).
- Every 3-6 months: A more thorough cleaning, including dusting and surface cleaning.
- Annually: Consider scheduling a professional HVAC inspection for a complete system cleaning.
What Other Maintenance Can Help Your HVAC System?
While understanding how to clean a return vent is important, some additional maintenance steps can further enhance your HVAC system’s performance:
-
Change Filters Regularly: It’s crucial to change or clean your air filters according to the manufacturer’s recommendations.
-
Schedule Professional Cleanings: Annual or bi-annual checks by a professional can ensure all components are working as they should.
-
Monitor for Leaks: Regularly check ductwork for any signs of air leaks which can impact efficiency.
-
Use Vent Covers: If your vents are in accessible locations, consider using vent covers to reduce dust accumulation when not in use.
Conclusion
Cleaning your return air vent doesn’t have to be a complicated task.
In following the steps outlined above, you can efficiently learn how to clean a return vent without removing it.
With regular maintenance, not only can you improve air quality and enhance energy efficiency, but you can also extend the lifespan of your HVAC system.
Take action today to create a cleaner, healthier home environment.
For more tips on home maintenance, check out our other articles dedicated to improving your living space!