Installing a ceiling fan might seem like a daunting task, especially if you assume it requires an electrician.
However, with the right guidance, you can successfully learn how to install a ceiling fan all by yourself.
Why Choose to Install a Ceiling Fan Yourself?
Installing a ceiling fan on your own can save you money.
You won’t have to pay for labor costs, and it’s a straightforward DIY project.
Moreover, there are several benefits to having a ceiling fan installed in your home, such as:
- Energy Efficiency: Ceiling fans can help lower your energy bills by improving air circulation.
- Versatility: They can be used year-round for cooling in summer and circulating warm air in winter.
- Aesthetic Appeal: Various designs can enhance the décor of any room.
In this guide, we’ll walk you through the process step-by-step, making it simple and easy to understand.
What Tools Do You Need?
Before you begin, gather the necessary tools and materials.
Knowing how to install a ceiling fan is easier with the right equipment. Here’s a list of what you’ll need:
- Tools:
- Screwdriver (flathead and Phillips)
- Pliers
- Voltage tester
- Ladder
- Wire stripper
-
Level
-
Materials:
- Ceiling fan kit (includes fan blades, motor, and mounting hardware)
- Electrical box (ensure it’s rated for ceiling fans)
- Wire nuts or connectors
- Electrical tape
With everything prepared, you’re ready to dive into the installation process!
How Do You Prepare for Installation?
Preparation is key when learning how to install a ceiling fan.
Follow these steps to ensure a smooth installation:
-
Shut Off Power:
– Locate your home’s circuit breaker and turn off the power to the existing light fixture. -
Remove the Existing Fixture:
– If you currently have a light fixture, carefully remove it.
– Use the voltage tester to confirm there’s no electrical current running to the wires. -
Assess Wiring and Electrical Box:
– Ensure that your current electrical box can support the weight of the ceiling fan.
– If not, replace it with an electrical box specifically designed for ceiling fans.
How Do You Install the Ceiling Fan?
Once you are prepared, it’s time to start the installation!
Here’s how to install a ceiling fan step by step:
1. Install the Mounting Bracket
Begin by attaching the mounting bracket to the ceiling.
- Use the screws that came with your ceiling fan kit.
- Make sure the bracket is securely fastened to the electrical box.
2. Make Electrical Connections
Next, you need to connect the wires.
- Most ceiling fans have three wires: black (hot), white (neutral), and green or bare (ground).
- Connect the matching wires as follows:
- Black to Black: Connect the hot wire from the ceiling to the hot wire of the fan.
- White to White: Connect the neutral wire from your home to the neutral wire of the fan.
- Green or Bare to Green/Bare: Connect the ground wire from the ceiling to the fan.
After making the connections, use wire nuts to secure the wires and wrap them with electrical tape.
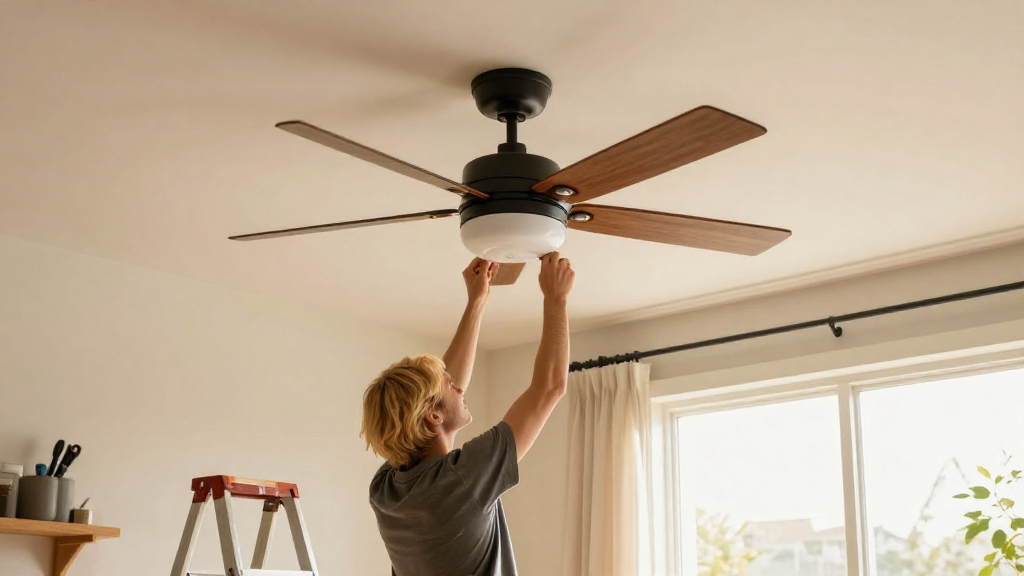
3. Attach the Fan to the Bracket
With the electrical connections made, it’s time to attach the fan.
- Lift the fan assembly and align it with the mounting bracket.
- Secure it using the screws provided in the fan kit.
- Consider using a ladder for better height and easier installation.
4. Install the Fan Blades
Once the main body of the fan is securely fixed:
- Attach the fan blades.
- Follow the manufacturer’s instructions regarding the number of screws needed for efficiency.
- Check that the blades move freely and are balanced.
5. Finalize Wiring and Install Light Kit
If your ceiling fan has a light kit, you’ll need to wire it as well.
- Connect the light’s wires to the corresponding wires in the fan body (usually black and white).
- Secure with wire nuts and cover it with electrical tape.
- After wiring, attach the light kit to the fan as per the instructions.
6. Turn on the Power
Now that everything is installed:
- Turn the power back on at the circuit breaker.
- Test the ceiling fan and light.
Make sure everything operates smoothly.
What Should You Do If the Fan Wobbles?
After installation, you should ensure your ceiling fan runs efficiently without any wobbling.
Here’s how to fix that:
- Make sure the blades are securely attached.
- Use a level to check if the fan is installed straight.
- Adjust the blade screws slightly and test again.
If the wobbling persists, consider using wobble pads on the fan blades for stabilization.
Are There Safety Precautions to Consider?
When learning how to install a ceiling fan, safety should always be your top priority.
Here are some essential safety tips:
- Always turn off the power before starting.
- Use insulated tools when working with electrical wires.
- If you encounter any unexpected issues with wiring, do not hesitate to consult an electrician.
Conclusion: Are You Ready to Install Your Ceiling Fan?
Now that you know how to install a ceiling fan without an electrician, it’s time to tackle the project.
With the right tools and careful guidance, you can enhance your home’s comfort and aesthetic with a ceiling fan.
Not only will you save on installation costs, but you’ll also gain a sense of accomplishment by completing the project yourself.
Remember to take your time and refer back to this guide whenever needed.
Embrace the DIY approach and enjoy the benefits of your newly installed ceiling fan!