When it comes to maintaining your air conditioning system, knowing how to install an AC filter correctly is key to ensuring optimal performance and air quality.
Why is It Important to Install an AC Filter Correctly?
Understanding how to install an AC filter correctly is crucial for multiple reasons:
- Improves Air Quality: A clean air filter traps dust, allergens, and pollutants, improving indoor air quality.
- Enhances Efficiency: A properly installed filter allows for optimal airflow, improving the efficiency of your cooling system.
- Reduces Energy Costs: Maintaining a clean filter can lower energy bills since your AC system doesn’t have to work as hard.
- Prevents Damage: Clogged or incorrectly installed filters can lead to potential damage to the AC unit.
Installing your AC filter correctly is essential for the longevity and efficiency of your cooling system.
What Tools Do You Need?
Before proceeding, gather the necessary tools. You might need:
- A new AC filter (make sure it fits your unit)
- A screwdriver (if needed to remove the access panel)
- A measuring tape (to ensure the correct filter size)
How Can You Identify the Right Filter?
Choosing the right filter is vital and involves:
- Checking the Size: Most filters have a label indicating their dimensions (length x width x thickness).
- Finding the MERV Rating: The Minimum Efficiency Reporting Value (MERV) indicates a filter’s efficiency. A higher rating means better filtration.
- Considering the Type: Options include fiberglass, pleated, HEPA, and reusable. Each type has its pros and cons based on air quality needs and budget.
How to Install an AC Filter Correctly: Step-by-Step Guide
Now that you have the essentials, let’s discuss how to install an AC filter correctly in easy-to-follow steps.
1. Turn Off the AC Unit
Before doing any work, always turn off your air conditioning unit. This prevents any electrical issues and ensures safety during installation.
2. Locate the Filter Compartment
Access your air handler or furnace.
- Depending on your system, the filter compartment may be at the side or below the unit.
3. Remove the Old Filter
Carefully remove the old filter by doing the following:
- Gently slide it out of its compartment.
- Dispose of the old filter properly.
4. Clean the Filter Slot
Before installing the new filter, check the filter slot:
- Dust and Debris: Wipe away any dust or particles from the compartment with a clean cloth. This ensures better fit and function for the new filter.
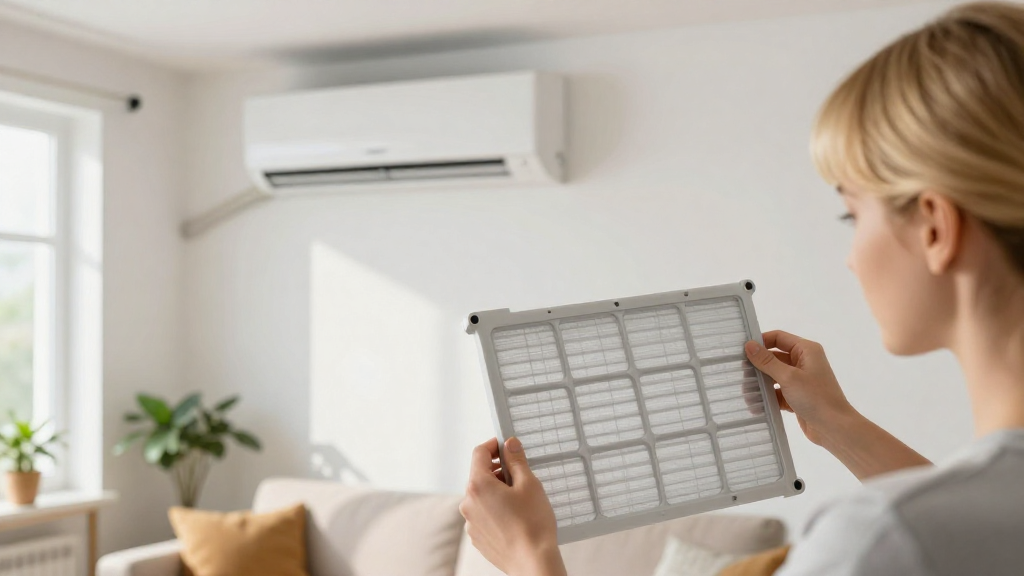
5. Insert the New Filter
Now it’s time to install the new filter. Follow these steps:
- Check the Direction: Ensure you’re inserting it in the correct direction. Air flow arrows on the filter indicate the correct side that should face the unit.
- Slide It In: Firmly slide the new filter into the opening until it fits snugly.
6. Double-Check the Fit
After installation, take a moment to ensure that it’s positioned correctly:
- Not Loose: The filter shouldn’t wobble or feel loose in the compartment.
- Sealed Edges: The edges should seal tightly without gaps to prevent air bypass.
7. Close the Access Panel
If you had to remove an access panel, reattach it securely using your screwdriver.
8. Turn On the AC Unit
Now that everything is in place, turn on your air conditioning unit.
- Listen for Noises: Ensure there are no unusual sounds indicating a problem.
How Often Should You Change Your AC Filter?
Most experts recommend checking your AC filter every month and changing it every 1-3 months, depending on usage.
If you have pets or allergies, you may want to replace your filter more frequently.
- Monthly Checks: Take a moment each month to evaluate your filter’s condition.
- Signs of a Clogged Filter: If you’re noticing decreased airflow or increased energy bills, it may indicate that the filter has become clogged and needs replacement.
What Are the Common Mistakes to Avoid?
When discussing how to install an AC filter correctly, it’s important to avoid these common mistakes:
- Forgetting to Turn Off the Unit: Always ensure the AC is off to prevent accidents or equipment damage.
- Using the Wrong Filter Size: This can lead to inefficiencies and airflow issues.
- Ignoring the Directional Arrows: Incorrect installation can prevent proper airflow.
- Neglecting Regular Maintenance: Regular checks and replacements are essential for optimal performance.
Conclusion: Mastering the Basics of AC Filter Installation
Now that you know how to install an AC filter correctly, you can maintain your cooling system with confidence.
By following these straightforward steps:
- Turning off the AC,
- Removing the old filter,
- Inserting the new filter in the correct direction,
- And checking the fit,
You ensure your AC unit runs efficiently and effectively.
Remember, a well-maintained air conditioner not only prolongs the life of your system but also contributes to a healthier and more comfortable indoor environment.
For additional guidance on how to install an AC filter correctly or for further questions, don’t hesitate to reach out to a local HVAC professional. They can provide additional tips tailored to your specific air conditioning system and needs.
Happy cooling!