Are you looking for ways to improve the efficiency of your home’s heating and cooling systems? Learning how to seal air ducts can significantly enhance your HVAC’s performance, save energy, and lower your utility bills. In this article, we’ll walk you through everything you need to know about sealing air ducts effectively.
What Are the Benefits of Sealing Air Ducts?
Sealing air ducts is not just a maintenance task; it comes with a range of benefits:
-
Improved Energy Efficiency:
Sealing your ducts can reduce air leaks, allowing your HVAC system to work more efficiently and use less energy. -
Enhanced Comfort Levels:
When air ducts are sealed properly, you maintain more consistent temperatures throughout your home, improving comfort. -
Reduction in Airborne Contaminants:
Well-sealed ducts minimize dust, pollen, and mold from entering your indoor air, leading to better air quality. -
Low Utility Bills:
By improving efficiency and reducing energy waste, you can expect a noticeable drop in your utility costs. -
Longer Lifespan of HVAC Systems:
Sealed ducts alleviate the workload on your HVAC system, potentially extending its lifespan.
How to Identify Leaky Ducts?
Learning how to seal air ducts starts with identifying the leaks. Here are some signs that you have leaky ducts:
- Dust Accumulation: If you notice increased dust near your vents or in your home, it could be a sign of leaking ducts.
- Uneven Temperatures: Rooms that are consistently too hot or too cold might indicate duct issues.
- Higher Energy Bills: If your utility bills are rising despite stable usage, leaking air ducts might be the culprit.
- Strange Noises: Hissing or whistling noises can indicate air escaping from the ductwork.
What Tools Do You Need to Seal Air Ducts?
Before diving into sealing your air duct system, gather the right tools and materials. Here’s a list of essentials:
- Duct Sealant (Mastic): This thick, paste-like material is excellent for sealing larger leaks.
- Duct Tape: Use this for temporary fixes; however, avoid using cloth-backed tape as it may not last.
- Foam Insulation: Ideal for insulating and sealing your ductwork, particularly in unconditioned spaces.
- Caulk: Perfect for sealing small gaps around vents and register connections.
- Safety Gear: Gloves, a dust mask, and safety glasses to protect yourself during the sealing process.
How to Seal Air Ducts in Simple Steps?
Now that you have identified leaky ducts and gathered your tools, let’s explore how to seal air ducts step-by-step:
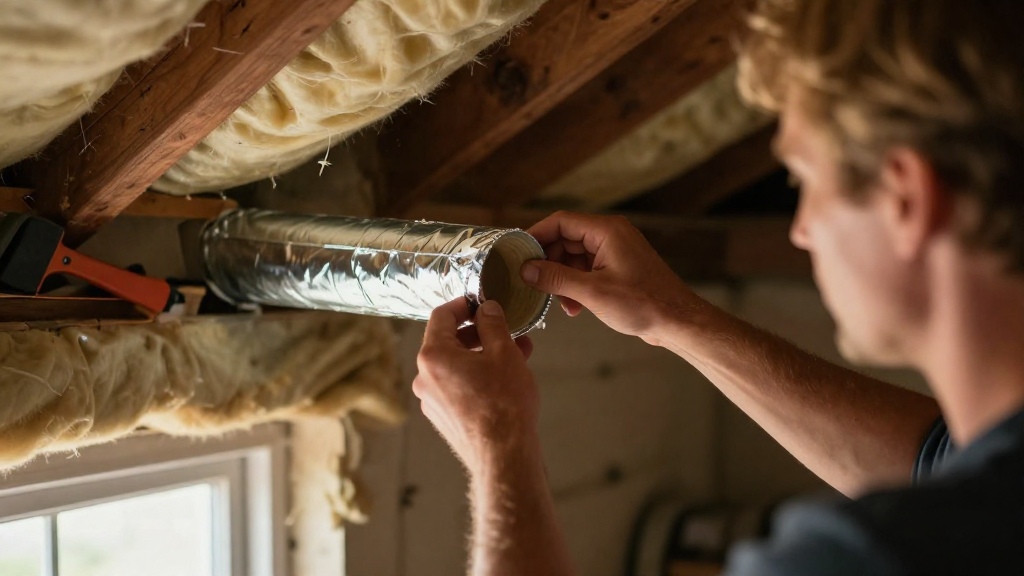
Step 1: Inspect Your Ductwork
- Turn Off Your HVAC System: Always start by turning off the heating or cooling system to prevent injuries.
- Inspect Ducts: Look for any visible gaps, holes, or disconnected sections.
Step 2: Prepare the Area
- Clean the Ducts: Use a vacuum to remove dust and debris around the ducts.
- Evaluate Insulation Needs: If ducts are in unconditioned spaces, consider additional insulation to improve efficiency.
Step 3: Seal Larger Leaks
- Apply Duct Sealant:
Use a paintbrush or your gloved fingers to apply mastic around larger gaps and joints.
Ensure a thick layer forms a complete seal.
Step 4: Use Caulk for Smaller Gaps
- Seal Small Openings:
For smaller cracks, use waterproof silicone caulk.
Apply a bead of caulk to the gap and smooth it with a caulking tool.
Step 5: Tape Temporary Fixes
- Utilize Duct Tape:
If you notice a temporary leak, strapping cloth-backed duct tape over the area can help until you can apply a more permanent seal.
Step 6: Insulate the Ducts
- Wrap Ducts with Foam Insulation:
For ducts in attics or crawlspaces, use adhesive foam insulation to wrap around the exposed ductwork.
Ensure that both temperature-controlled and unconditioned areas are covered.
Step 7: Recheck Your Work
- Turn Your HVAC System Back On:
After sealing, restart the system and check airflow in various rooms.
Ensure that you’ve addressed all visible leaks, resulting in improved efficiency and comfort.
When Should You Call a Professional?
While many homeowners can perform duct sealing themselves, certain situations may require professional help. Consider hiring an expert when:
- Ducts Are Hidden: If the ducts are embedded within walls or ceilings, professional equipment can help locate and seal leaks.
- Extensive Damage: If you notice substantial wear, such as mold growth or collapsed duct sections, a specialist will be needed.
- Lack of Time or Expertise: If you’re uncomfortable performing the task, hiring a certified HVAC technician is always a good option.
How Often Should You Seal Air Ducts?
If you want to ensure maximum efficiency, consider sealing your air ducts:
- Every Few Years: Make it a routine task to check the ductwork every two to five years, especially if you notice any issues.
- After Major Renovations: Renovating your home can disturb ductwork. After any construction or extensive cleaning, inspect your ducts for leaks.
Conclusion
Knowing how to seal air ducts can benefit your home in countless ways, from increased energy efficiency to improved comfort levels.
By following the simple steps outlined above, you can enhance your HVAC system’s performance and create a healthier living environment.
Don’t overlook this essential maintenance task—take control of your indoor air quality and energy bills today.
By being proactive, you can enjoy the benefits for many years to come.